
We’ve recently added wax/tuning gear to the online store! Sometimes it’s best to leave damage to the experts. That’s what we’re here for. Keeping your own skis/boards freshly waxed is easy.
A waxed base is about 30% easier to turn, more durable and faster than an unwaxed base, application of any universal wax will give the average skier a noticeably better ski experience.

Waxing Tips
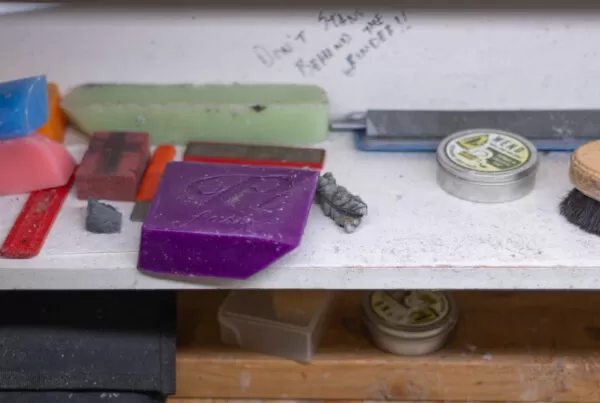
Choose the right wax.
– Cold wax | This is a hard wax. Hardening additives that make wax more durable, abrasion-resistant, and immune to scratching by sharp snow crystals (dry friction).
– Midrange wax | This is a medium wax formulated to counteract the effects of both moderate dry and wet friction.
– Warm wax | This is a soft wax. Hydrophobic additives that make wax more water-repellent to combat wet friction.
Graphite
Graphite is added to hydrocarbon wax as an anti-static agent to improve glide in either dirty or dry snow.

It’s important to get this correct. Cold temp wax will do okay in warm snow, but warm wax will be horrendous in the cold snow. Most days vary in temperature between the morning and afternoon; select a wax for the coldest temperature of the day.
HOW MUCH WAX DO YOU NEED?
It takes about 12-15 grams to hot wax one pair of alpine skis, or one complete snowboard so 100 gram wax pack is good for about 6-8 hot wax applications.
DON’T BURN BASES
Hot irons should never come in contact with unwaxed base material or you can seriously damage it. Drip or rub on enough wax before ironing.
- CLEAN SKI BASE
Clean your ski base by scraping with a acrylic wax scraper to remove old wax and dirt from the surface. (Use base cleaners sparingly as they tend to dry out and deteriorate the base material.) Use a brass or bronze base brush aggressively from tip to tail to further clean the base and remove oxidized base material. Follow with a fiber pad to remove any base burn “fuzz” caused by abrasive snow. - APPLY WAX
Simply hold the bar of wax on the base of the iron allowing melted wax to drip onto your ski base. Set the iron temperature so wax flows easily, but doesn’t “smoke” the wax. Iron the wax into the base for 30 – 45 seconds to spread the wax and allow it to penetrate into the base. NOTE: Keep the iron moving to prevent damage to the ski. If you can feel the heat on the other side of the ski, it’s getting too warm. - COOL AND SCRAPE
Let wax cool to room temperature. Scrape off excess wax with an acrylic scraper leaving a very thin layer on the base. You want the wax IN the base and not ON the base. - BRUSH AND POLISH FOR MAXIMUM GLIDE
The final step is to brush surface wax out of base structure/texture with a nylon, bronze or horsehair brush. This clears channels for moisture which help break snow surface suction and enhances glide. A final wipe down with fine fiber pad cleans the wax particles caused by brushing and polishes your base further enhancing glide.
Protect Your Work Area
Wax can be a huge mess, and difficult to clean. We suggest using a tarp or some form of protecting layer to ease the clean up process. Wax shavings will get everywhere. It’s pretty unavoidable.
Use the Correct Iron
Use an iron designed for waxing! Do not use a normal household iron. Waxing irons are specifically designed with more precision in the heating element, so they don’t burn your base.
Pesky Brakes
Apply brake retainers to hold brakes away from the work area. There are specific rubber bands designed exactly for this purpose. A clever individual may also get away with jamming a screw driver between the brake and top sheet.